I like Fridays. I like Fridays because every day I wake up bursting with ideas, but on Fridays I don't say "no".
I don't ask, "Who will want that??"
I turn my inner killjoy off (she's such a bummer, anyways). I take a break from the shop and give myself permission to work on any new idea, no matter how random, weird, impractical or improbable.
This morning, while digging for supplies for one idea, I came across the huge basket of pompoms I made (during the long-lasting pompom phase every girl must pass through). They happened to be sitting on top of a pile of IKEA Tekla napkins. I immediately knew how it felt to invent important things, like space travel and french fries. For, a mere fifteen minutes later, I have the "Moroccan" bedding I've wanted since the internet started making me want it. And now you shall, too. Behold, the slightly disappointing iPhone documentary of my creative process:
For this project you'll need two IKEA Tekla napkins (per pillowcase). Iron them well. Technically, any two dishtowels will work. Not used ones, though. Don't be gross.
You'll also need eight small yarn pompoms per pillow. There are plenty (146,203,465) of tutorials online, so I won't go into that here.
Cut off the IKEA tags, but leave the "hanging loops" attached. We will be ingeniously using these later on! Ingenious, I say!
Now lay one napkin on a table with the right side facing up. Pin two pompoms to one corner, poms facing towards inside of pillow, strings pointing out. Don't pin or sew TOO close to the poms. Leave a little space as shown.
Now stitch back and forth over the strings once or twice (by hand or machine), to tack into place. Trim the strings flush with edge of napkin.
Do this for all four corners, and you will end up with this:
On top of this, lay the other napkin face down. IMPORTANT: Make sure the "hanging loops" are at the same end on both napkins!
The right sides will be facing each other and the pompoms will be inside. It will be a pompom sandwich. Don't eat it.
Pin the sides together, making sure to push the pompoms to the center and out of the way of your pins as you go around them so that you don't stitch over them later.
On the end with the loops, pin only about four inches on each end, leaving approximately eight inches open in the center.
Stitch all the way around, leaving about the 8" open in the center of the end with the loops. This is how you'll get your pillow in, silly.
See how the end with the loops has an opening?
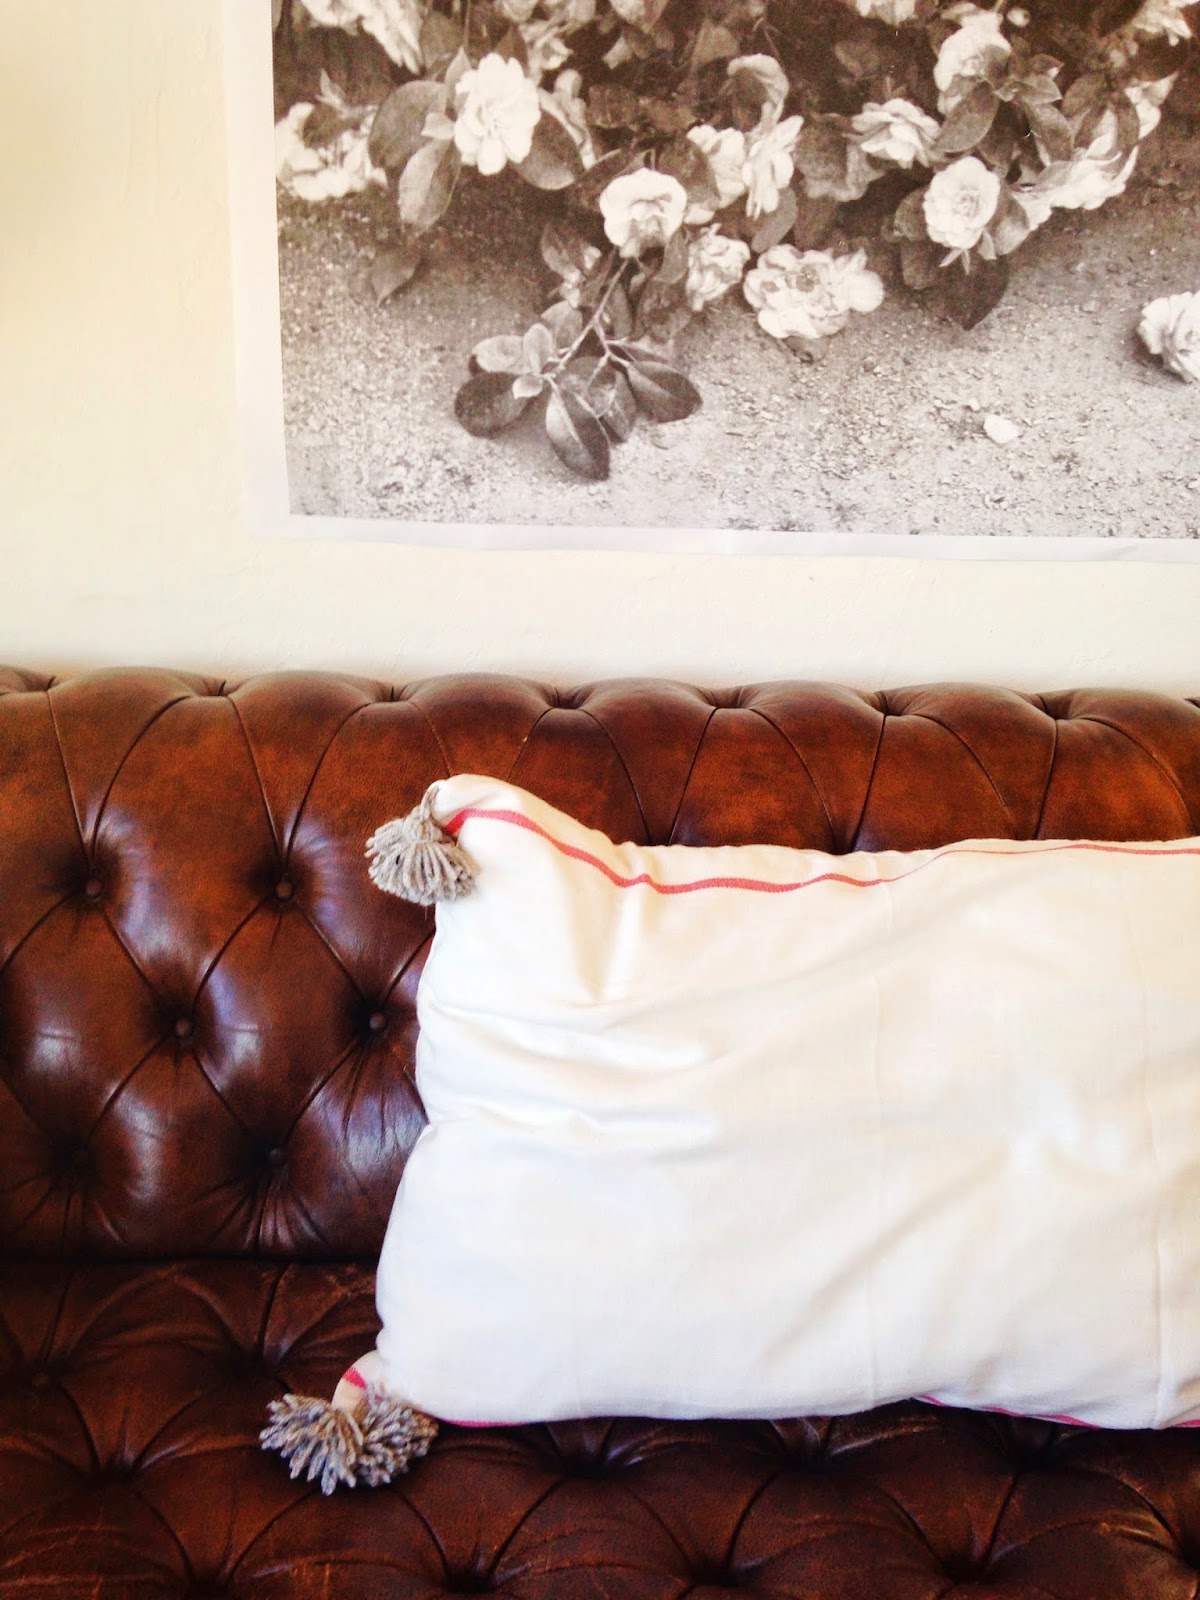
Turn right side out and freak out a little about how cool it is. The dishtowel really lends itself to the Moroccan look, with its loose-woven, natural cotton and simple red stripe, no? YES.
Now cut each loop in half in its center.
Insert your pillow through the opening (it's the perfect size for a standard/twin sized bed pillow), and tie the cut loop ends together to form two tie closures!
I'm making a pair for my bed. I love this project because a) no thinking, and b) raw materials can be so expensive-cannibalizing supplies from something already made is the way to go! Thank you, IKEA, for negotiating the price of cotton to almost zero for me!
If you make these, send me pictures and I'll post them here!